As a new photographer, this is how I got started! I bought my first DSLR (Digital Single Lens Reflex Camera) when I was a freshman in college. I needed a camera for a photography class that had manual mode (lets you manually control shutter speed, aperture, and ISO). I went on Amazon and purchased my first camera which was a Nikon D3000 with two kit lenses, a 18-55mm and 75-300mm. It was a perfect starter camera for me, having manual mode, aperture-priority mode, and shutter-priority mode (Aperture, Shutter Speed, and ISO are the three elements to create an exposure).
Here are a few newer camera models similar to what I started with. I also listed the Canon equivalent. These are perfect entry level to hobbiest photography cameras. I suggest purchasing a bundle when starting out. This means you typically get a wide angle lens, a telephoto zoom, a camera bag, SD card, and other goodies. It is usually under $100 for the difference between just the camera and the bundle, but you would need to get most of the bundle accessories sooner or later anyway.
Nikon D3500 - The most inexpensive entry level DSLR on the market. 24.2 mega-pixels, 5 frames per second, video capabilities, and bluetooth
Nikon D5600 - A higher-end entry level camera. 24.2 mega-pixels, 5 frames per second, video capabilities, and touchscreen.
Canon EOS Rebel T6i - 24.2 mega-pixels, 5 frames per second, video capabilities, and touchscreen
Canon EOS Rebel T7 - 24.1 mega-pixels, 3 frames per second, video capabilities, and wifi. This means you can transfer images to your smartphone for super-quick sharing.
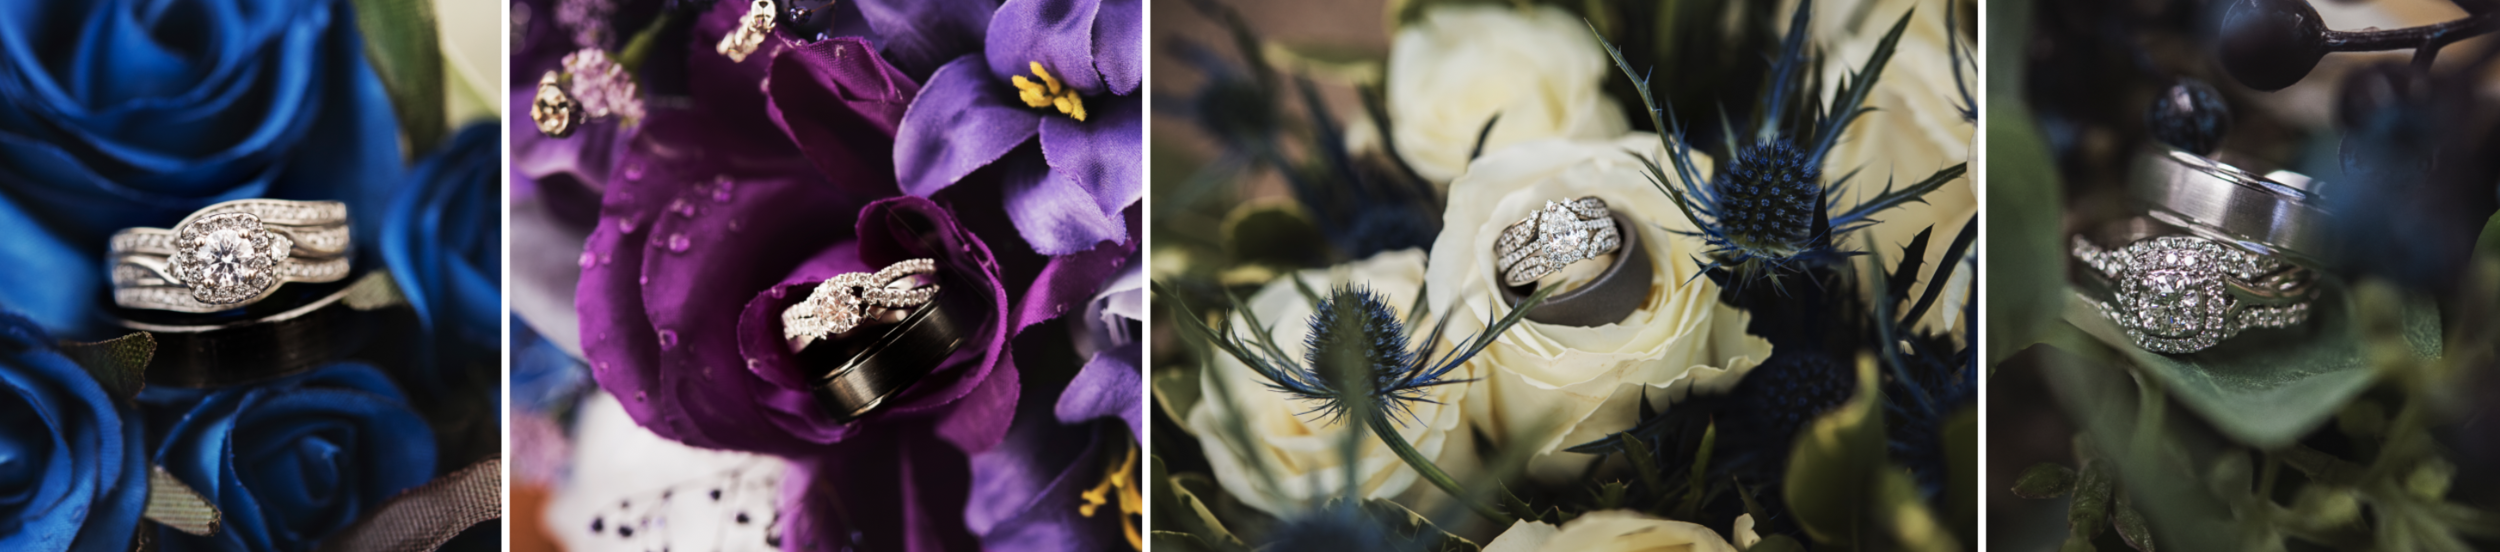
After seeing other photographer’s portrait work, I wanted to make that “blur-effect” as I called it back then. I loved how the subject popped from the background. I did some research and turns out the correct word is “bokkeh” and there are a number of variables to create this effect, but the biggest variable is your lens.
The first lens I purchased on-top of the kit lenses that came with my D3000, was a 50mm 1.8. This lens is known as the “nifty-fifty”. It is a budget-friendly lens (being under $200) that has a shallow depth of field (gives a blurry background). It gives you that creamy blur because it has a wide aperture of 1.8. It is also light-weight and versatile, being great for landscapes or portrait photography. Every photographer should have this lens in their bag. This is your perfect starter lens and a must buy!
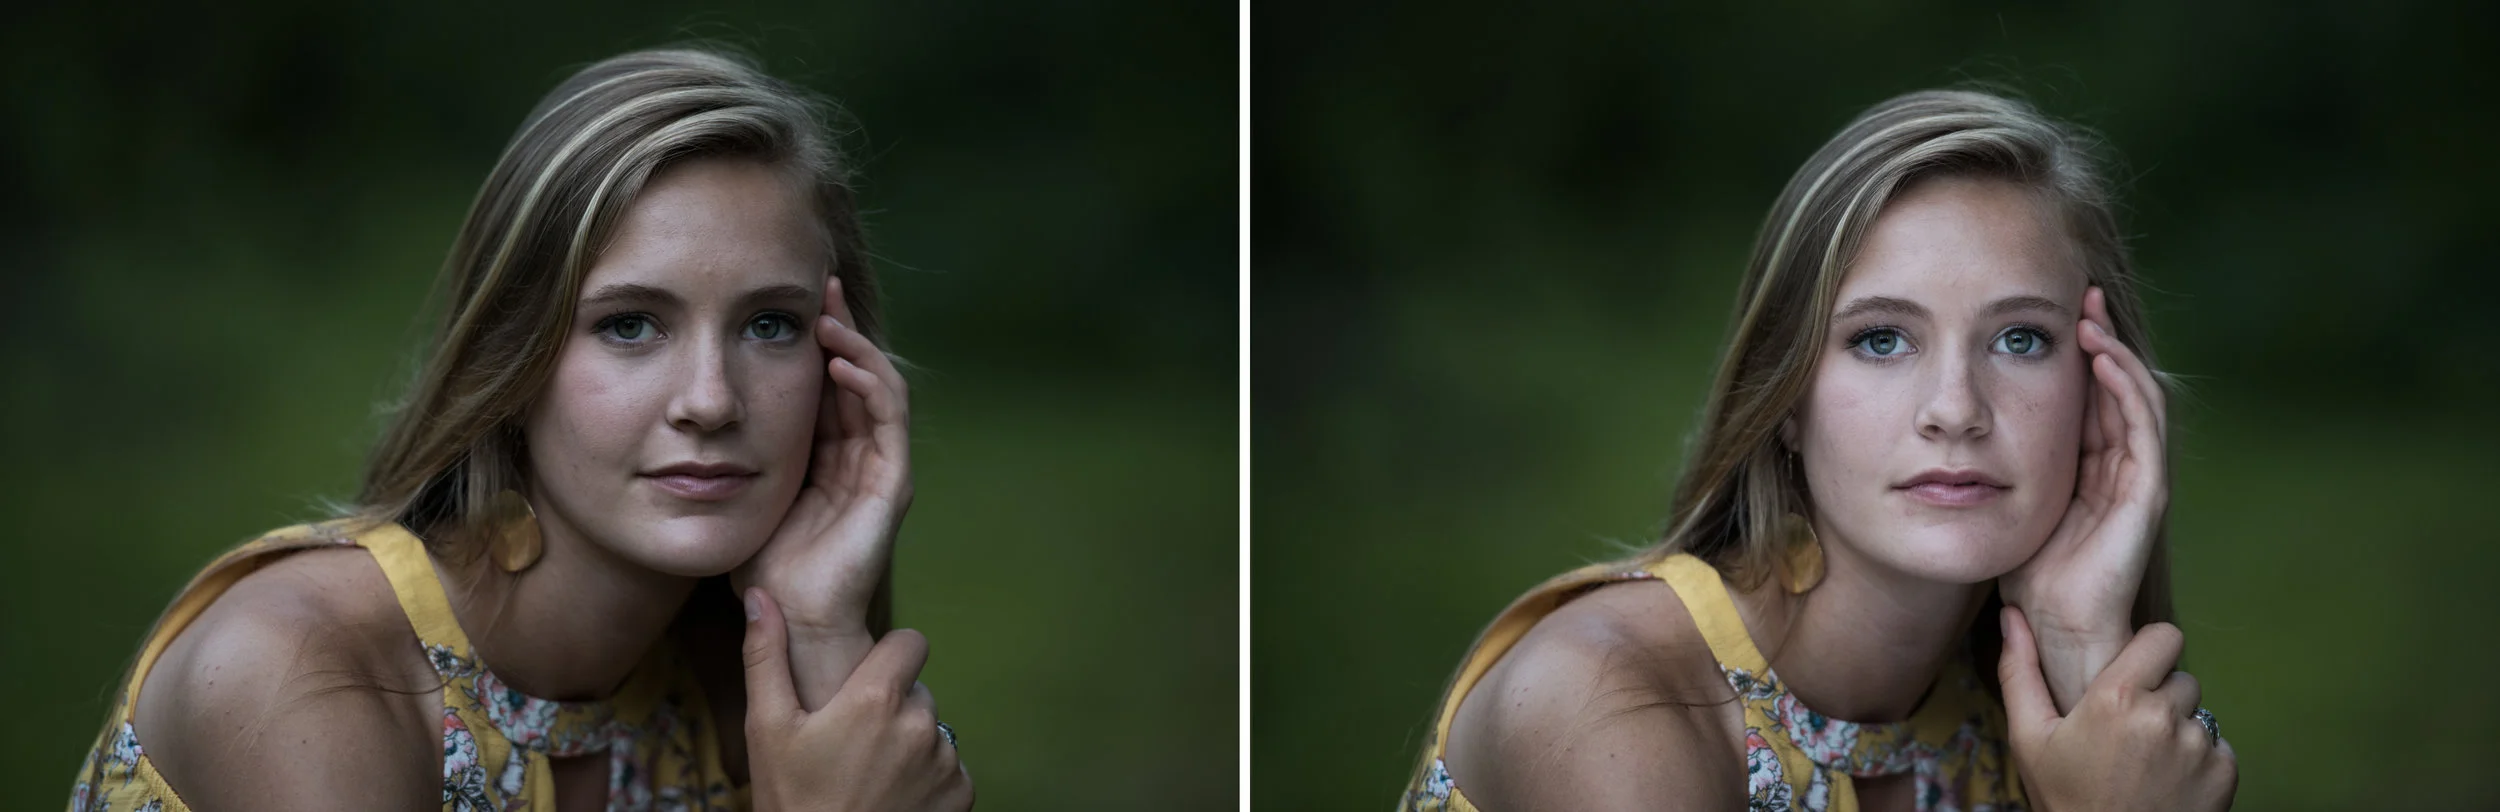
Images demonstrating a 50mm 1.8 lens at various f-stops.
For Nikon...
Nikon 50mm 1.8 DX - This is an inexpensive lens being under $200!
Yongnuo 50mm 1.8 DX for Nikon - I haven’t used this lens before but it is under $100 and has great reviews! Even more budget friendly.
For Canon…
Canon EF 50mm f/1.8 - This is an inexpensive lens being under $150!
I had to do some digging but here are images taken in 2015 when I first started out! These were taken with my Nikon D3000 (the upgraded versions are the D5600 and D3500) and my 50mm 1.8 lens. God I really loved angles back then…
Some tips to get that Bokkeh you desire...
Shoot Wide Open - Use a low f stop of 2.0 or lower.
Maintain Distance - Keep your subject as far away from the background as possible.
Move Closer - Move up on your subject to get a closer shot. Standing closer to your subject, or zooming in, will increase your bokkeh.
If you can’t afford a lens yet, your kit lenses can get bokkeh as well. To get your subject to pop with a kit lens, start by setting your f-stop at the lowest setting (which will be f 4.5). Zoom your lens in all the way, and physically stand close to your subject while making sure your subject has a good distance from the background. Click away!
Some tips to starting out in photography…
Try out aperture priority mode and shutter priority mode. It is a good training tool to learn exposure and eventually manual mode.
Know what ISO is and how it works.
Learn the ins and outs of your camera. I know it sounds boring, but sit down and go through the manual or even Youtube a video about your camera. You will learn so much!
Bring your camera with you everywhere and PRACTICE! You can’t get better if it’s just sitting in it’s case.
Learn the basic rules of composition to create more visually appealing shots (rule of thirds, symmetry, leading lines, diagonals, create depth, creating frames). Super important!
If you are photographing people, always focus on the eyes.
NEVER use your on-camera flash as a primary light source. Or even in general.
Don’t start to use Lightroom or Photoshop before learning manual mode on your camera and how exposure works. I see too many people do this. You are putting the cart before the horse.
GO OUT AND BUY A FIFTY NIFTY!!! Seriously. Do it. I have a few listed above with link to buy!
Watch Youtube videos! They are a free resource with so much great information from other professionals! This is honestly how I learned to use my camera. I literally just type in the question I am thinking in my head into the search bar such as “what is aperture?”.